
Guides
How to create Landing Page in less than one hour
SITE.devad.io is the simplest Landing page builder, yet the cheapest ever. With its rich features, no feature is limited.
Step 1: Choose Theme and Main Website Details

1- Choose from more than 50 landing page designs
2- Choose language and page link name
3- Choose the hero section (cover, logo, Title, and description)
Step 2: Add Your Social Media Links

1- Add your contact info (phone, email, WhatsApp, etc.)
2- Add your social media accounts
3- Add youtube videos section, embadeed drive videos/images/docs, Google map, Address, Text, Google reviews, and many more
Step 3: Add Your Services

1- Add Service Image
2- Add Service Name and Description
3- Optionally, enable Enquiry Button
Step 4: Add Your Products

1- Add product main info (name, description, image)
2- Add Sale Price, Regular Price, Currency, and Badge
Step 5: Add Images to Your Gallery

1- Upload your image gallery
2- Add captions to images
Step 6: Add Customer Reviews and Testimonials
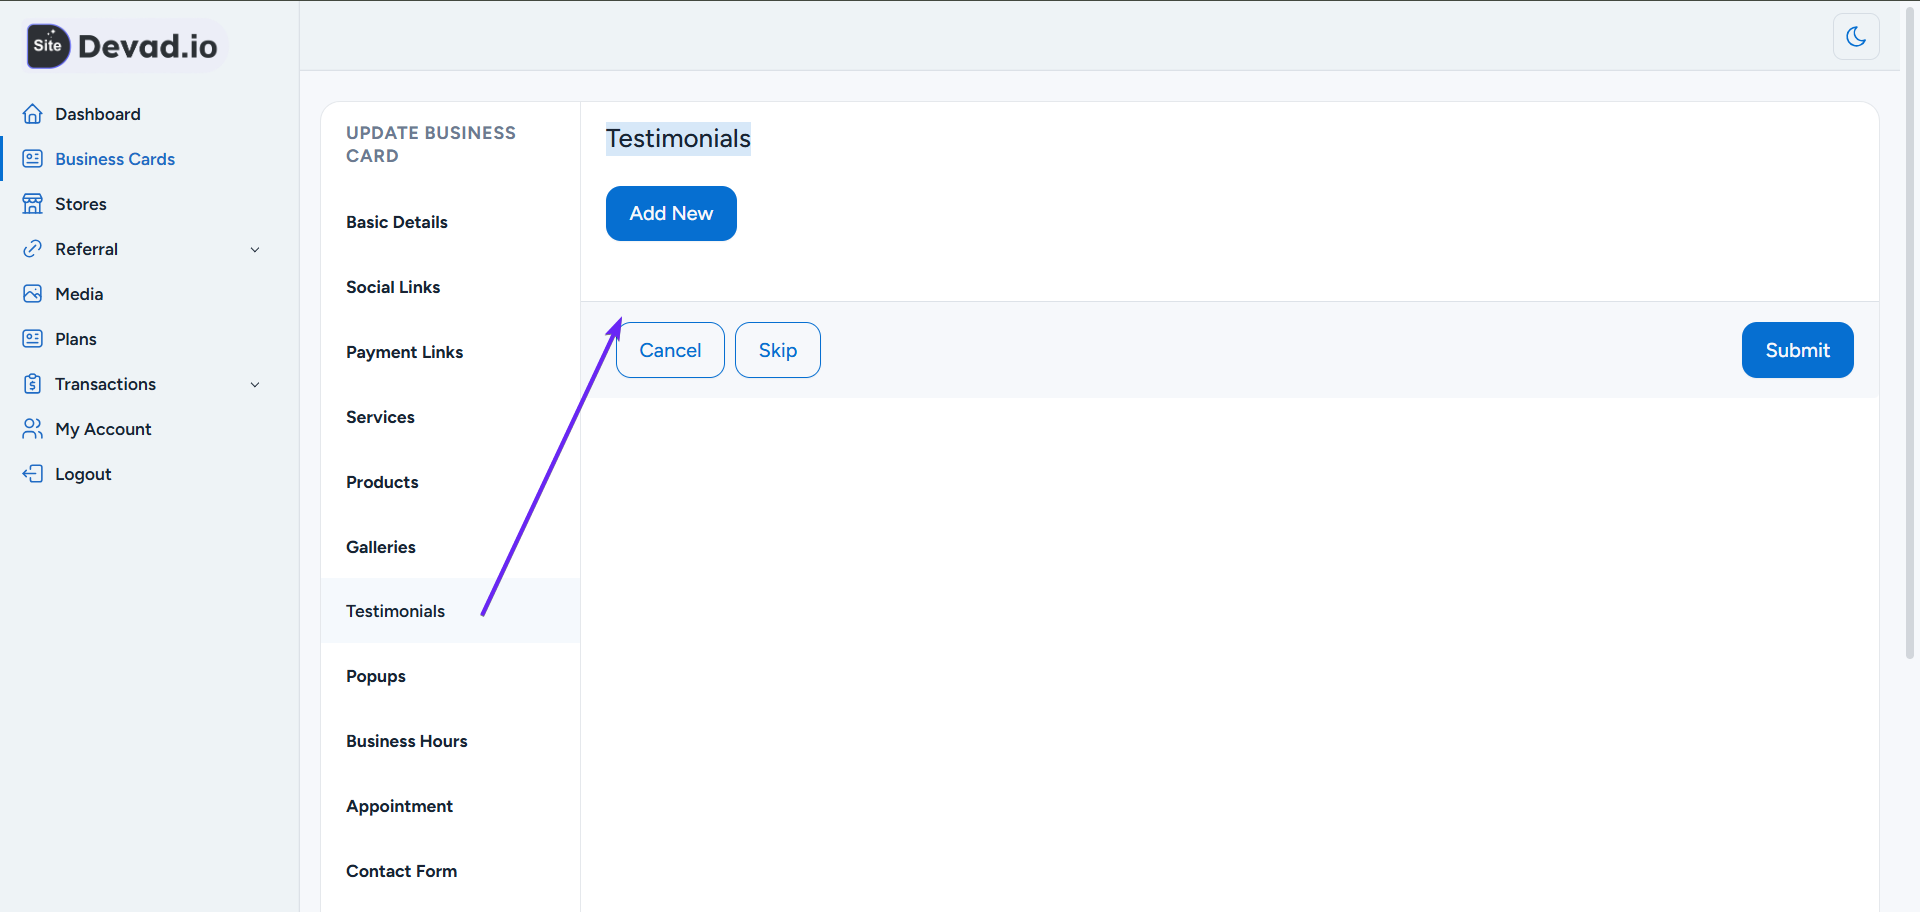
1- Add Reviewer Image and Reviewer Name
2- Add Reviewer Text and Subtext
Step 7: Add Popups

1- Enable Newsletter Popup (optional)
2- Enable Information Popup which is good for promotions and discounts
Step 8: Add Business Hours / Working Hours

1- Add your working hours. You can hide them
2- Choose hours and set if closed or open
Step 9: Set Appointment Timings

1- Slot duration max 60 (we can increase it, just contact us)
2- Set hour and week of availability
Step 10: Add Contact & Inquiry Form

1- Enable or Hide Contact / Inquiry Form
2- Add your Email address to receive booking notifications
Step 11: Service Booking

1- Add Basic Configuration (Available days: Sunday, Monday, etc.)
2- Add your Start and End time
3- Add your Email address to receive booking notifications
Step 12: Set Advanced Settings

1- Set Password Protection to allow only people with a password to access your page
2- Enable PWA to turn your website into a mobile app
3- Enable or disable other Language Switcher
4- Add SEO Configuration Settings
5- Add Custom CSS to customize your website. Add JS like analytics and pixels for conversion tracking
Step 13: Customize Section Titles

1- You can change section names according to your business
e.g., Products to Books, Services to Courses, or Testimonials to Reviews, etc.
Step 14: Connect to Your Domain or Subdomain

1- From page actions, click Connect
2- For our free subdomain: Only add your desired subdomain name + mufidx.net (e.g., storez.mufidx.net). If the subdomain is available, we will approve it ASAP.
2- For your own domain, please follow the instructions.